
Lighting Tips
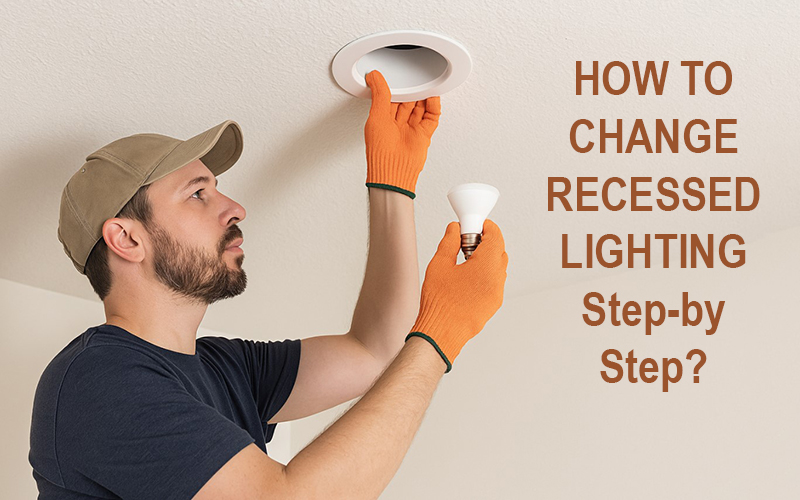
How to Change Recessed Lighting: Step-by-Step Guide
Recessed lighting – often referred to as can lights, pot lights, or downlights – is a sleek and modern choice for illuminating homes without taking up visual space. These fixtures are commonly installed in living rooms, kitchens, hallways, and bathrooms to provide focused or ambient lighting. Over time, however, they may flicker, burn out, or simply become outdated, prompting homeowners to explore how to change recessed lighting efficiently and safely.
Whether you’re dealing with a high ceiling, a bathroom downlight, or simply a standard ceiling fixture, replacing recessed lights doesn’t have to be complicated. In fact, knowing how to change a recessed light bulb or how to replace recessed lighting with a newer, more energy-efficient LED model can save you money and improve your home’s appearance instantly.
This comprehensive guide will walk you through everything you need to know – whether you’re just swapping a bulb, replacing an old can light fixture, or converting your recessed lighting to pendant or flush mount styles for a fresh new look. With the right tools and techniques, even first-time DIYers can tackle this task with confidence.
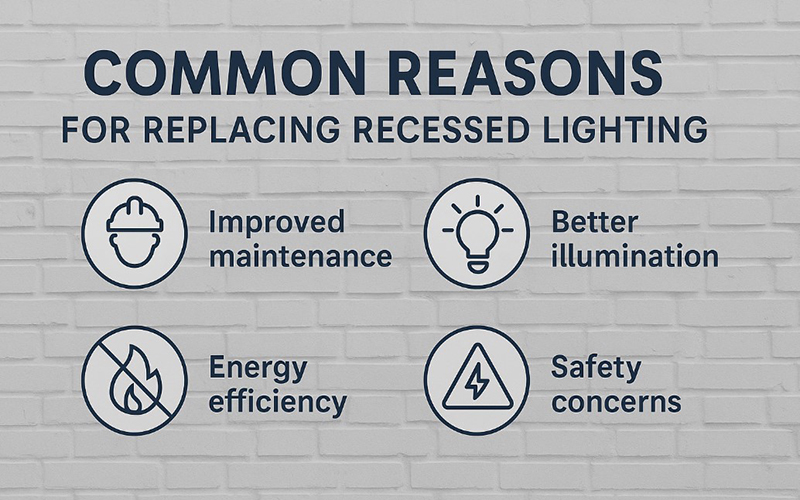
Common Reasons for Replacing Recessed Lighting
Understanding why you’re changing your recessed lights can help determine the best method for the job. Here are some of the most common reasons homeowners decide to replace or upgrade their recessed fixtures:
Burned-Out or Flickering Bulbs
If your recessed lights are dimming, flickering, or no longer turning on, it might be time to replace the bulb – or the entire fixture. In some cases, the issue lies with the type of bulb, such as halogen or incandescent, which may wear out faster or be incompatible with dimmers.
Upgrading to LED Lighting
Many people choose to replace recessed lighting with LED to reduce energy usage and eliminate the need for frequent bulb changes. Modern LED retrofit kits are easy to install and can fit into existing can light housings, making this a practical and long-term solution.
Changing the Style of Lighting
Interior design trends change, and so do lighting preferences. You might want to convert your recessed lighting to pendant lights over a kitchen island, or swap out old trim kits for sleek flush mount fixtures that better match your updated décor. Learning how to replace recessed lighting with flush mount lighting or how to convert a recessed light to a pendant can dramatically improve your space’s aesthetics.
Access or Maintenance Issues
In rooms with vaulted ceilings or tricky angles, even simple tasks like changing a recessed light bulb in a high ceiling can become a challenge. In these cases, upgrading to long-lasting LED solutions can reduce the need for frequent access.
Safety and Fixture Age
Older fixtures may no longer meet current safety standards or could be showing signs of wear, corrosion, or overheating. If your can light feels loose, discolored, or outdated, it’s time to learn how to replace a recessed light fixture properly to prevent potential hazards.
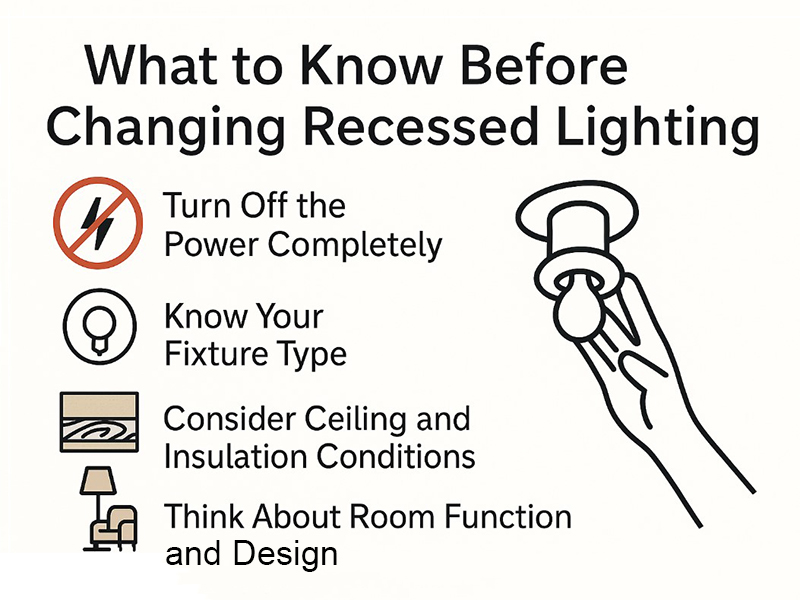
What to Know Before Changing Recessed Lighting
Before beginning any electrical project, including changing recessed lighting, it’s crucial to prepare properly. This ensures safety and helps you choose the right type of replacement.
Turn Off the Power Completely
Never rely solely on the wall switch – always turn off power to the fixture at your home’s electrical panel. Use a voltage tester to confirm that there’s no power running to the wires. This is especially important when you’re replacing recessed lighting fixtures or modifying wiring to convert a can light to a regular light.
Know Your Fixture Type
There are several types of recessed lighting systems. Some have traditional metal can housings inside the ceiling, while newer models may be canless and mount directly into drywall. Others may be part of an LED retrofit kit. Knowing your existing setup will help you determine the right approach, whether you’re changing a bulb or replacing the entire recessed light.
Consider Ceiling and Insulation Conditions
If your lighting is installed near insulation, ensure your new fixture is IC-rated (Insulation Contact) to avoid overheating. This is especially important in attics and upper floors. For bathrooms or kitchens, use lighting that is damp- or wet-rated to withstand moisture.
Think About Room Function and Design
If you’re planning to change a bathroom downlight bulb or replace recessed lighting in a high-ceiling living room, assess how often the light is used, what kind of ambiance you want, and whether a different fixture type – such as a pendant light or flush mount – would offer better functionality or style.
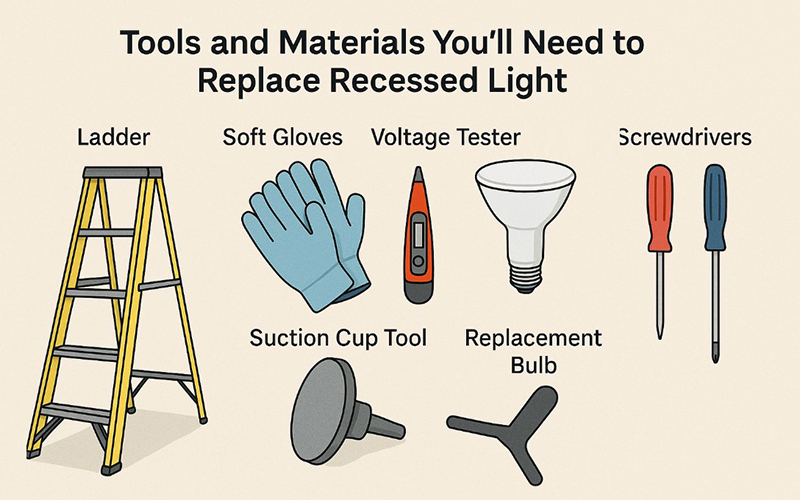
Tools and Materials You’ll Need
Having the proper tools ready before you start will make the process of changing recessed lighting much easier and safer. Depending on whether you’re replacing a bulb or an entire fixture, your list may vary slightly.
For Changing a Recessed Light Bulb
For straightforward jobs – such as figuring out how to change recessed light bulb with cover – you’ll typically need:
- A stable step ladder (or tall ladder for high ceilings)
- Soft gloves to avoid fingerprints on halogen bulbs
- A new compatible bulb (LED, halogen, or incandescent depending on fixture)
- A suction cup tool or bulb grabber for recessed bulbs with smooth surfaces or covers
- Voltage tester for safety assurance
If you’re unsure how to change a recessed light bulb in high ceiling areas, investing in an extendable pole with a bulb changer attachment can make this much easier.
For Replacing the Entire Fixture
When learning how to replace can lights or swap an old recessed light fixture for a modern LED model, gather these tools:
- Screwdrivers (both flathead and Phillips)
- Wire stripper and electrical tape or wire connectors
- Wire tester
- Retrofit LED kit or new light fixture
- Power drill and drywall saw (for cutting if installing canless fixtures or enlarging openings)
- Safety glasses and gloves
Preparing in advance will help ensure that whether you’re changing a bulb, upgrading to LED, or converting recessed lighting to pendant lights, the process goes smoothly and safely.
Step-by-Step: How to Change a Recessed Light Bulb
Changing a recessed light bulb might seem intimidating at first – especially if the bulb is hard to reach or covered by a trim or lens – but in most cases, it’s a simple, five-minute task. Follow these steps to safely and effectively replace your recessed light bulb, whether it’s in a standard room, bathroom, or high ceiling.
Step 1: Turn Off the Power
For your safety, always switch off power to the light fixture at the breaker panel – not just the wall switch. Even if you’re only changing a bulb, this reduces the risk of electrical shock. Confirm with a voltage tester if needed.
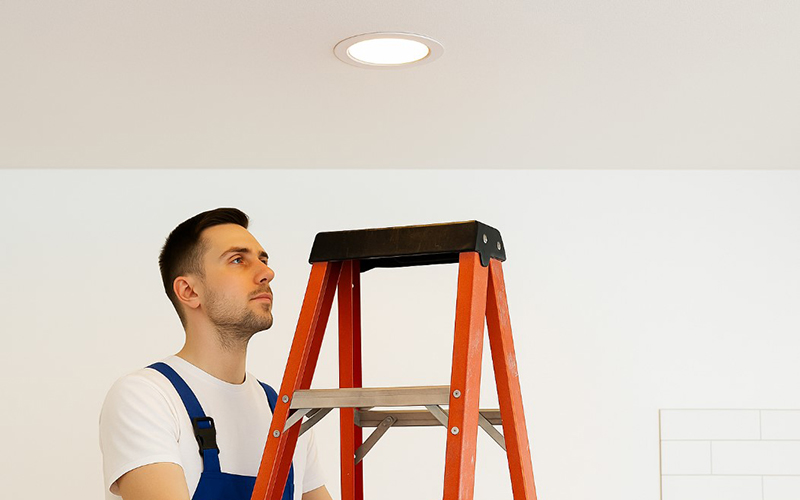
Step 2: Set Up a Safe Work Area
Place a sturdy step ladder directly under the light. If you’re working on a high ceiling, use an extension ladder or a bulb changer pole designed for recessed fixtures. In bathrooms or kitchens, make sure the floor is dry and stable to prevent slipping.
Step 3: Remove the Trim or Cover (If Applicable)
Some recessed light bulbs are recessed behind a glass cover, baffle, or trim ring. If you’re wondering how to change a recessed light bulb with cover, gently pull the trim down by hand or unclip it depending on the model.
- For bathroom downlights, covers may be sealed tighter due to moisture protection. Twist counterclockwise or gently pry off using a flathead screwdriver if necessary.
Step 4: Remove the Old Bulb
With gloves on, grasp the bulb and turn it counterclockwise. If the bulb is smooth (like a flat LED), you can use a suction cup tool. If the bulb is stuck, try wiggling it gently – do not force it.
- Wondering how do you change a halogen recessed light bulb? These get hot quickly, so always let them cool completely before handling.
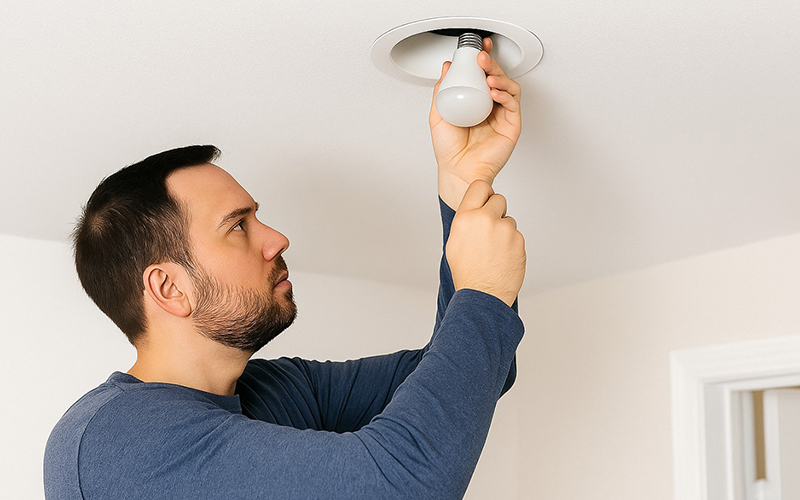
Step 5: Install the New Bulb
Insert the new bulb and rotate clockwise until it’s snug. Be sure to use the correct wattage and type (e.g., BR30, MR16, GU10, etc.), especially if you’re upgrading to LED. Many LED replacements are dimmable and last over 10,000 hours – an ideal choice for hard-to-reach recessed lights.
If you’re unsure how to change a bulb in a bathroom downlight or pot light, check the fixture rating and moisture protection (look for “damp-rated” or “wet-rated” on the new bulb packaging).
Step 6: Reinstall the Trim (If Needed)
Snap the trim or cover back into place carefully. Make sure it’s flush with the ceiling and properly secured – especially in bathrooms, where steam may loosen trim over time.
Step 7: Turn the Power Back On and Test
Switch the breaker back on and flip the wall switch to test the new bulb. If the light doesn’t turn on, double-check that the bulb is securely in place and that the breaker wasn’t tripped during recessed lights installation.
Quick Tips:
- Never touch halogen bulbs with bare hands; oil from your fingers can shorten their lifespan.
- For high ceilings, consider switching to LED bulbs with a 10–20 year lifespan to reduce how often you’ll need to repeat this process.
- If your recessed lighting flickers after bulb replacement, it may be time to replace the entire fixture or check wiring.
Step-by-Step: How to Replace a Recessed Light Fixture
If your recessed lighting is outdated, inefficient, or malfunctioning, replacing the entire fixture can instantly improve both the look and functionality of your space. This is especially helpful when switching from older can lights to energy-efficient LED recessed lights, or when you’re looking to convert a recessed light to a pendant or flush mount fixture for a design refresh.
Whether you’re dealing with traditional recessed cans or more modern canless systems, the following step-by-step instructions will walk you through the process of replacing your recessed light fixture safely and effectively.
Step 1: Shut Off Power at the Circuit Breaker
Before touching any wires or hardware, turn off the circuit breaker that controls the light fixture. Use a non-contact voltage tester to confirm that power to the fixture is completely off.
Step 2: Remove the Existing Trim and Bulb
Use a ladder to access the recessed fixture. Pull down the trim and remove the bulb from the socket. If your fixture has a cover or lens, remove it as well.
Step 3: Disconnect the Fixture from the Housing
Inside the recessed can, you’ll typically find spring clips or a metal frame holding the light in place. Squeeze or unclip these to release the fixture. Once removed, locate the junction box – usually attached to the top of the housing – and gently pull it through the ceiling opening.
Carefully disconnect the wiring: unscrew the wire nuts, and separate the black (hot), white (neutral), and ground wires. If you’re wondering how to replace can lights with LED, this is where you begin transitioning to a new fixture or retrofit kit.
Step 4: Remove the Old Housing (If Necessary)
If you’re upgrading to a new fixture size or converting to canless recessed lighting, you may need to remove the existing metal housing. This might require accessing the attic or removing a few mounting screws or brackets holding the can in place.
Use a drywall saw if necessary to widen the ceiling hole – especially if you’re planning to replace recessed lighting with flush mount lighting, which often requires a larger or modified opening.
Step 5: Install the New Fixture or Retrofit Kit
There are three common replacement options, depending on your goals:
Option A: Install an LED Retrofit Kit
These are the easiest upgrades. Insert the new mounting hardware into the existing can housing, connect the wires (black to black, white to white, and ground to ground), and plug the connector into the socket. Then push the fixture up into place until the trim is flush with the ceiling.
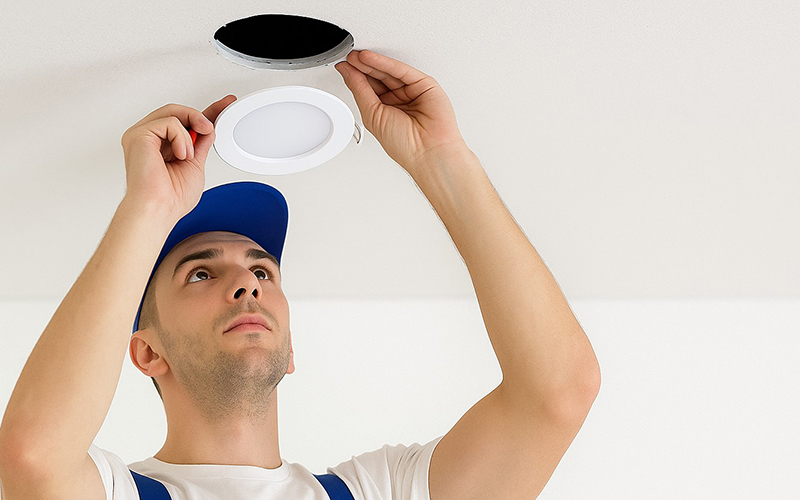
Option B: Install Canless Recessed Lighting
Canless fixtures mount directly into the drywall. First, cut a properly sized hole using the template provided. Next, run your electrical wire into the new junction box, connect the wiring, and snap the fixture into place using built-in spring clips.
Option C: Convert to Pendant or Flush Mount
To convert a recessed light to a pendant, purchase a conversion kit that includes a mounting bracket, canopy, and decorative pendant. Secure the bracket to the existing housing or junction box, connect the wires, and attach the new light fixture.
Want a cleaner look? You can also replace recessed lighting with a flush mount fixture by removing the can and installing a surface-mounted fixture directly to a ceiling junction box.
Step 6: Secure the Fixture and Restore Power
After everything is connected and mounted securely, gently push any wires back into the ceiling. Turn the breaker back on and test the new light. If everything works properly, you’ve successfully replaced your recessed lighting fixture.
Expert Tips:
- If your ceiling is insulated, always use IC-rated fixtures to prevent overheating.
- Use dimmable LED kits to adjust lighting levels depending on time of day or activity.
- Want a quick visual upgrade? Swap out the trim ring or switch from warm to cool light temperature without changing the fixture.
Post-Replacement Tips: Testing, Maintenance & Safety
Once you’ve successfully replaced a recessed bulb or fixture, the job isn’t quite done. Taking a few final steps to test and maintain your lighting will ensure everything is safe, long-lasting, and performs as expected.
Test the Light Thoroughly
Turn the power back on and flip the wall switch. Your new bulb or fixture should light up immediately. If it doesn’t turn on, double-check your wiring connections or ensure the bulb is properly seated. If the fixture flickers or dims erratically, you may be dealing with incompatible dimmers, a loose connection, or even a faulty fixture.
For example, flickering recessed lights are often caused by old dimmer switches that don’t work well with LED bulbs. Consider upgrading your dimmer if this happens.
Maintain Your Lighting System
Recessed lights are generally low-maintenance, but a little upkeep can go a long way:
- Clean the trim and lens periodically to remove dust and grime that may reduce brightness.
- Check for discoloration or burning marks on the trim or ceiling, which may signal overheating or poor ventilation.
- Replace bulbs with the same type and wattage to avoid damaging the socket or fixture.
In bathrooms or kitchens where moisture is common, use damp-rated or wet-rated bulbs and fixtures and inspect them regularly for condensation buildup.
Revisit Safety if Needed
If you had to force a bulb, use extra wiring, or noticed damaged insulation during replacement, it’s best to have an electrician double-check the system. Recessed lighting safety isn’t just about installation – it’s also about ensuring your setup stays secure over time.
Frequently Asked Questions (FAQ)
Here are answers to some of the most common questions homeowners have when changing recessed lighting:
How do I change a recessed light bulb that’s behind a cover?
For fixtures with a trim or lens cover, gently twist or pull the cover down. Some trims are held by tension springs, while others screw into place. Once removed, changing the bulb is straightforward – just twist it counterclockwise and replace it.
How can I change a recessed light bulb in a high ceiling?
Use a telescoping bulb changer tool with a suction cup or grip attachment. These tools let you safely reach and remove bulbs without a ladder. Consider switching to long-lasting LED bulbs to reduce how often you’ll need to replace them.
Can I change a bathroom downlight bulb myself?
Yes, but make sure the light is turned off at the breaker and the bulb is fully cooled. Bathroom downlights often have moisture-proof trims or sealed covers, so you may need to apply gentle pressure or twist to access the bulb. Always replace with a damp-rated bulb designed for bathroom use.
Is it hard to replace a recessed light fixture?
Not at all – especially if you’re using an LED retrofit kit. These kits are designed to fit inside existing can housings and can be installed without cutting into the ceiling. If you’re switching to flush mount or pendant lighting, it may require removing the old housing and modifying the ceiling slightly, but the process is still manageable for most DIYers.
What type of bulb should I use when replacing a recessed light?
Always match the bulb type (base, shape, and wattage) to your existing fixture. LED bulbs are the most efficient and long-lasting option. Make sure to choose the correct beam angle and color temperature (e.g., warm white or daylight) to match your room’s ambiance.
Conclusion: You Can Change Recessed Lighting Like a Pro
Changing recessed lighting – whether it’s a simple bulb replacement or a full fixture upgrade – might seem daunting at first, but with the right guidance and tools, it’s completely manageable, even for beginner DIYers. From fixing flickering lights to converting your old cans into stylish pendant or flush mount fixtures, you now have the knowledge to handle it safely, efficiently, and beautifully.
Good lighting transforms how a room feels, functions, and flows. If you’re upgrading your home, don’t stop at just changing the fixtures – think about the ambiance and materials too. Natural textures like rattan, bamboo, and wicker can bring softness, warmth, and character to your space in a way traditional lighting rarely can.
At VietShopDesign, we specialize in handcrafted rattan and bamboo light fixtures, made with care by Vietnamese artisans. Whether you’re looking for a cozy pendant light for your reading nook, a sculptural centerpiece above the dining table, or a sustainable alternative to modern lighting, we’re here to help you bring natural beauty into your home.
👉 Explore our collection today and find the perfect lighting piece to elevate your space, naturally.


Unlock VIP Perks
Join as a priority member to receive gifts and be the first to access exclusive deals, our newest collections, and more...
Read More
10 Best Bamboo Rattan Furniture Ideas for your Home
In a world increasingly focused on sustainability and wellness, bamboo rattan furniture has found its [...]
Jul
Recessed Lighting Layout Guide: Room-by-Room Tips & Ideas
Whether you’re remodeling a kitchen, updating your bathroom, or designing a cozy basement retreat, a [...]
Jun
Recessed Lighting Installation Cost in 2025: Money-Saving Tips
Recessed lighting installation cost is one of the first things homeowners consider when planning to [...]
Jun
How to Change Recessed Lighting: Step-by-Step Guide
Recessed lighting – often referred to as can lights, pot lights, or downlights – is [...]
Jun
How Many Recessed Lights Do I Need? Expert Guide to Perfect Lighting Layout
One of the most common questions homeowners ask when planning lighting is: “How many recessed [...]
Jun
How to Install Recessed Lighting: Everything You Need to Know
How to Install Recessed Lighting is a common question among homeowners looking to upgrade their [...]
Jun
Best Bathroom Pendant Light Ideas to Elevate Your Space
When it comes to bathroom design, lighting plays a crucial role in setting the mood, [...]
Jun
Best Hotel Lighting Ideas That Will Wow Your Guests
Lighting plays a vital role in shaping the guest experience in any hospitality setting. From [...]
Jun
Product Collection
Rattan Pendant Light
86 Products
Bamboo Pendant Light
56 Products
Fabric Pendant Light
44 Products
Wood Pendant Light
9 Products
Rope Pendant Light
8 Products
Rattan Table Lamp
6 Products
Wabi Sabi Pendant Light
39 Products
Rattan Wall Sconce
5 Products