
Lighting Tips
How to Hang a Ceiling Light: A Step-by-Step Guide
Hanging a ceiling light can transform the look and feel of a room, providing both functional and aesthetic benefits. Whether you’re replacing an old fixture or installing a new one, this comprehensive guide will help you know How to Hang a Ceiling Light through the process step-by-step. With the right tools, materials, and safety precautions, you can successfully hang a ceiling light that enhances your living space.
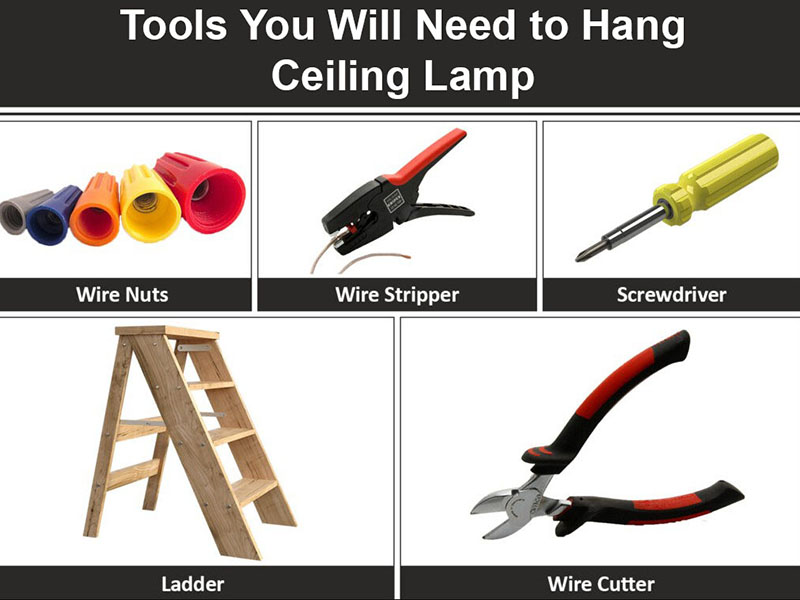
Tools You Will Need to Hang Ceiling Lamp
Before starting hang ceiling Lamp, gather the following tools and materials (depending on the location and installation method, some tools may not be necessary):
- Ladder or step stool
- Screwdriver (Phillips and flat-head)
- Wire strippers
- Voltage tester
- Electrical tape
- Wire nuts
- Pliers
- Ceiling light fixture
- Light bulbs (if not included with the fixture)
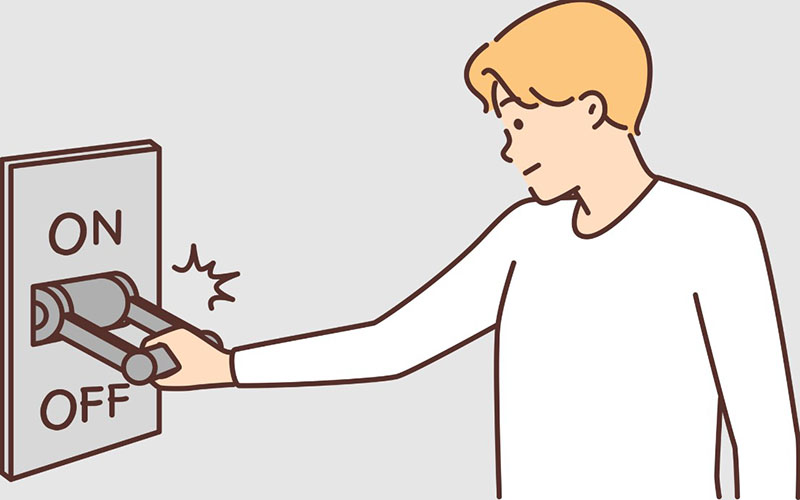
Safety First when Hang a Ceiling Light
Safety is paramount not only when install a ceiling light but also working with electrical fixtures. Here are some essential safety tips:
- Turn Off the Power: Locate the circuit breaker that controls the power to the room where you’ll be working and turn it off. Double-check by using a voltage tester to ensure no electricity is flowing to the existing fixture.
- Use a Sturdy Ladder: Ensure your ladder or step stool is stable and positioned correctly to avoid any falls.
- Have a Helper: It’s beneficial to have someone assist you, especially when handling large or heavy light fixtures.
Install a Ceiling Light Step-by-Step Guide
Step 1: Remove the Old Fixture
- Turn Off the Power: Ensure the power to the fixture is turned off at the circuit breaker.
- Remove the Cover and Bulbs: If your old fixture has a cover and bulbs, remove them to access the mounting hardware.
- Unscrew the Fixture: Unscrew the fixture from the ceiling. Hold the fixture with one hand while removing the screws with the other to prevent it from falling.
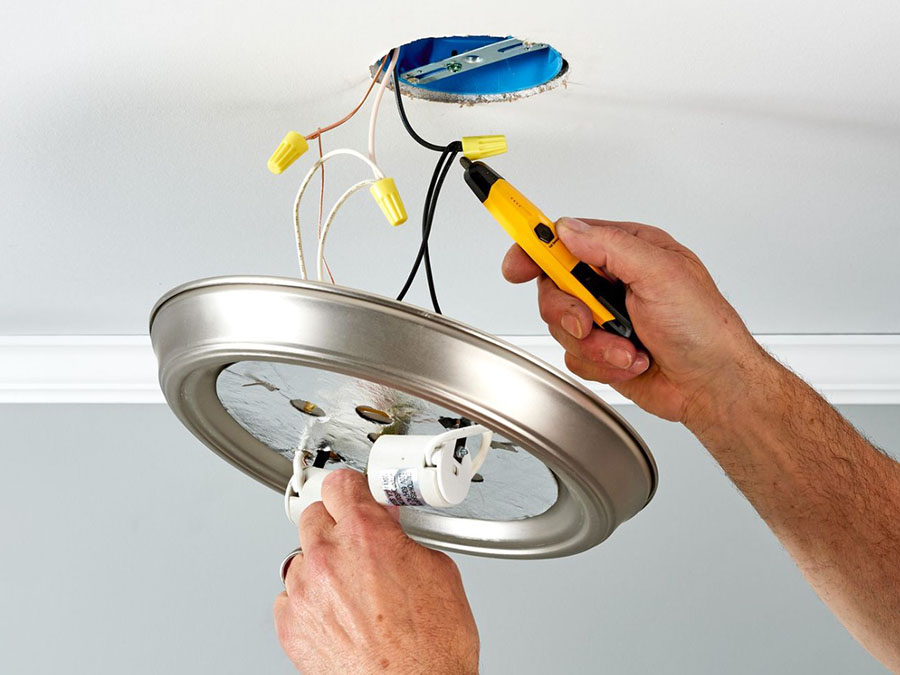
- Disconnect the Wiring: Carefully disconnect the wires. You should see three sets of wires: black (hot), white (neutral), and green or bare (ground). Use a voltage tester to confirm the wires are not live.
Step 2: Prepare the New Fixture
- Connect the parts of the new ceiling light fixture (if the lamp has many parts). Normally, the ceiling light placed at VietshopDesign will have the parts pre-connected by us, so the installation is extremely easy.
- Sometimes for ease of transportation, we separate the parts, but we always design the lights to be very easy to connect together. If you have difficulty, just contact via WhatsApp or Email on our contact page, we will help immediately!
Step 3: Install the Mounting Bracket
- Attach the Bracket: Attach the new mounting bracket (if included) to the electrical box in the ceiling using the screws provided. Ensure it is securely fastened.
- Align the Bracket: Ensure the mounting bracket is aligned correctly with the fixture to avoid any tilting.
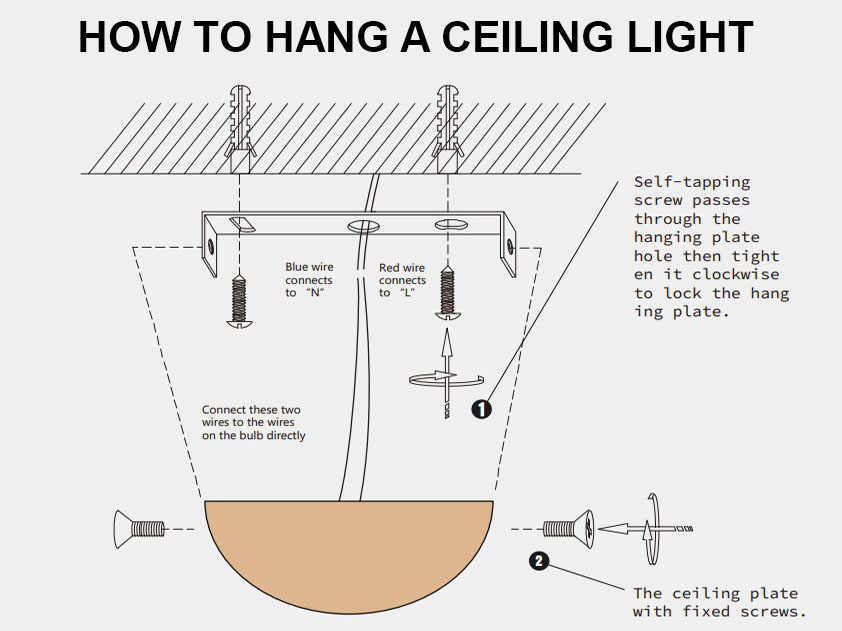
Step 4: Connect the Wires
- Match the Wires: Connect the wires from the fixture to the corresponding wires in the ceiling: black to black (hot), white to white (neutral), and green or bare to green or bare (ground).
- Secure the Connections: Use wire nuts to secure the connections. Twist the wire nuts clockwise until the wires are tightly connected. Wrap electrical tape around the base of each wire nut for extra security.
- Tuck the Wires: Carefully tuck the wires into the electrical box.
Step 5: Attach the Fixture
- Mount the Fixture: Attach the light fixture to the mounting bracket using the provided screws. Ensure the fixture is level and secure.
- Install the Bulbs: If your fixture requires bulbs, install them according to the manufacturer’s instructions. Ensure they are the correct wattage and type.
Step 6: Turn On the Power and Test
- Restore Power: Turn the power back on at the circuit breaker.
- Test the Fixture: Turn on the light switch to test the new fixture. If it doesn’t work, turn off the power and check the wiring connections.
Troubleshooting Common Issues
If your light fixture doesn’t work after installation, consider these troubleshooting tips:
- Check the Bulbs: Ensure the bulbs are correctly installed and not burnt out.
- Verify the Wiring: Double-check that all wires are connected correctly and securely.
- Inspect the Circuit Breaker: Ensure the circuit breaker is in the “on” position and functioning properly.
How to install a ceiling light successful tips
- Choose the Right Fixture: Ensure the light fixture you choose is appropriate for the room’s size and the ceiling’s height.
- Use Energy-Efficient Bulbs: Consider using LED or CFL bulbs for energy savings and longer bulb life.
- Consider a Dimmer Switch: Installing a dimmer switch can provide adjustable lighting levels, enhancing the room’s ambiance.
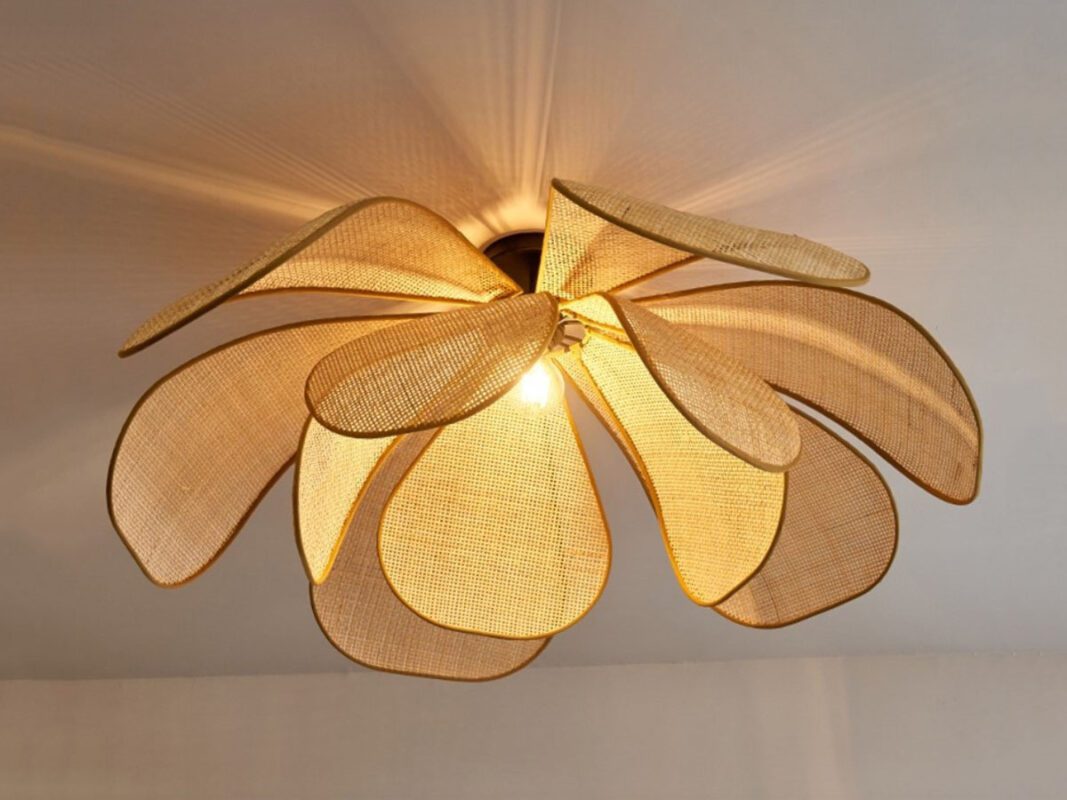
Conclusion of Ceiling Light Installation
Hanging a ceiling light is a manageable DIY project that can significantly enhance your home’s lighting and decor. By following this step-by-step guide and taking necessary safety precautions, you can successfully install a new ceiling light fixture. Whether you’re looking to brighten up your living space or add a stylish touch, a well-chosen and properly installed ceiling light can make all the difference.
See more: Key Things to Consider to install light fixture


Unlock VIP Perks
Join as a priority member to receive gifts and be the first to access exclusive deals, our newest collections, and more...
Read More
Best Bathroom Pendant Light Ideas to Elevate Your Space
When it comes to bathroom design, lighting plays a crucial role in setting the mood, [...]
Jun
Best Hotel Lighting Ideas That Will Wow Your Guests
Lighting plays a vital role in shaping the guest experience in any hospitality setting. From [...]
Jun
25+ Modern Farmhouse Lighting Ideas Illuminate Your Home
When it comes to home decor, lighting plays a crucial role in setting the mood, [...]
Jun
How to Remove a Light Fixture Safely and Easily?
Whether you’re replacing an outdated ceiling light, troubleshooting electrical issues, or simply giving your room [...]
Jun
25+ Best Bamboo & Rattan Light For Restaurant Coffee Shop
When it comes to designing a welcoming and memorable dining space, lighting plays a vital [...]
Jun
20+ Restaurant Lighting Ideas That Leave a Lasting Impression
Lighting plays a critical role in shaping a restaurant’s ambiance and influencing how customers feel [...]
Jun
20+ Inspiring Coffee Shop Lighting Ideas to Create the Perfect Vibe
Lighting plays a crucial role in shaping the ambiance of any space – and in [...]
Jun
25+ Pathway Lighting Ideas to Brighten Your Outdoor Walkways
A beautifully lit path is more than just practical – it transforms your landscape into [...]
Jun
Product Collection
Rattan Pendant Light
86 Products
Bamboo Pendant Light
56 Products
Fabric Pendant Light
44 Products
Wood Pendant Light
9 Products
Rope Pendant Light
8 Products
Rattan Table Lamp
6 Products
Wabi Sabi Pendant Light
39 Products
Rattan Wall Sconce
5 Products