Lighting Tips
How to Install Light Fixture – Key Things to Consider
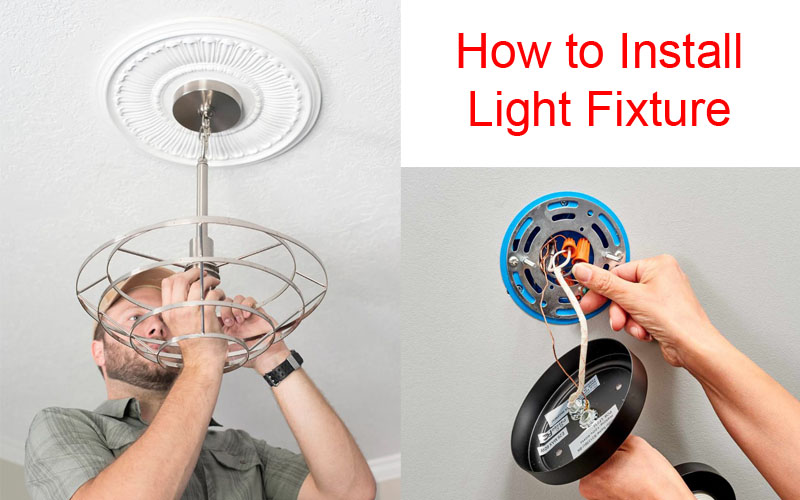
Installing a light fixture can transform the look and feel of any space. Whether you’re upgrading an old fixture or adding new lighting to your home, it’s essential to follow proper installation procedures to ensure safety and functionality. This guide covers the most important things to consider when installing a light fixture, along with links to detailed instructions for specific types of fixtures.

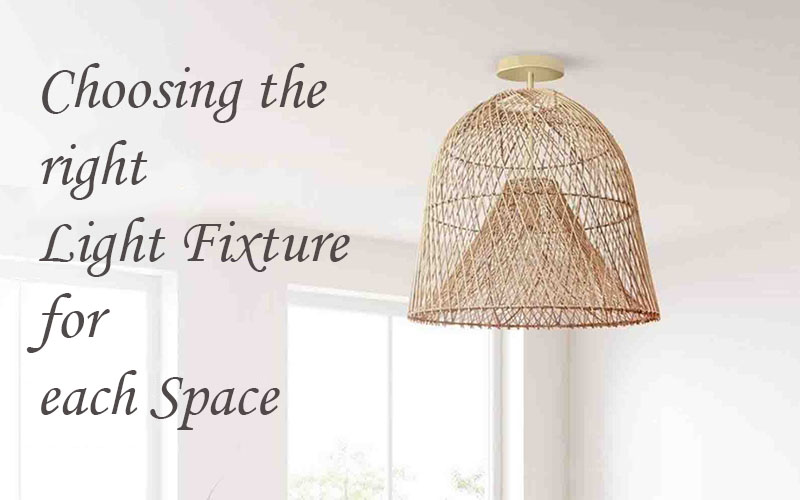
Choosing the Right Light Fixture
Consider these factors when selecting your light fixture:
- Based on the design space to choose the right type of light: ceiling light, hanging light or wall light
- Size and Scale: Ensure the fixture is appropriately sized for the space.
- Bulb Compatibility: Check whether the fixture supports LED, incandescent, or other bulb types.
- Dimmability: If using a dimmer switch, confirm that the fixture and bulbs are dimmable.
- Style and Aesthetics: Choose a fixture that complements your room’s decor.
With many years of experience in crafting traditional handmade lighting, we are confident in delivering the most beautiful lamps that meet all your needs. See our designs here.

Important Safety Precautions to install light fixture
Before starting any installation, always prioritize safety:
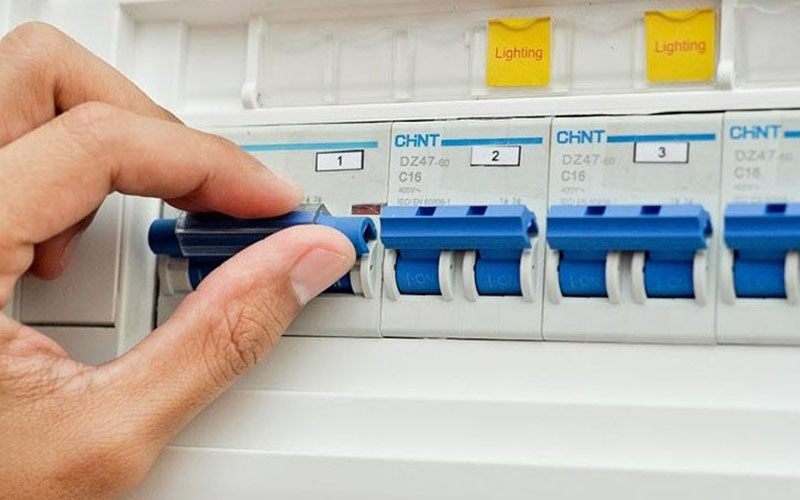
- Turn Off the Power: Switch off the circuit breaker to the lighting fixture’s location to prevent electrical shock.
- Use a Voltage Tester: Double-check that the power is off by using a voltage tester before handling any wiring.
- Read the Manufacturer’s Instructions: Every fixture may have unique installation requirements.
- Ensure Proper Support: Make sure your ceiling or wall can support the weight of the fixture, especially for heavier pendant or ceiling lights.
- Follow Local Electrical Codes: If you’re unsure, consult an electrician to comply with regulations and ensure a safe installation.

General Light Fixture Installation Steps
While each type of light fixture may have slightly different installation steps, the general process includes:
- Turn Off the Power: Shut off power at the breaker panel and verify using a voltage tester.
- Remove the Existing Fixture: Unscrew the old fixture, disconnect the wires, and remove the mounting bracket if necessary.
- Install the New Mounting Bracket: Secure the bracket that comes with your new fixture to the electrical box.
- Connect the Wiring: Match the wires from your fixture to the wires in your electrical box (typically black to black, white to white, and ground to ground). Use wire connectors to secure them.
- Secure the Fixture: Attach the fixture to the mounting bracket and tighten screws to hold it in place.
- Install Light Bulbs and Cover: Insert compatible bulbs and attach any covers or shades.
- Turn the Power Back On: Restore power and test the fixture to ensure it functions properly.
Detailed Light Fixture Installation Guides
For step-by-step instructions on installing specific types of light fixtures, check out these guides:
- How to Install a Wall Light – Ideal for sconces and wall-mounted lights.
- How to Install a Pendant Light – Covers hanging lights for kitchens, dining rooms, and entryways.
- How to Install a Ceiling Light – Includes flush-mounted and semi-flush fixtures for general lighting.
Final Tips and Troubleshooting
- Check Your Connections: If the fixture doesn’t turn on, verify that wires are connected correctly and that the bulbs are installed properly.
- Use the Right Tools: Have a screwdriver, wire strippers, and a voltage tester on hand.
- Consider Smart Lighting: Some modern fixtures are compatible with smart home systems for enhanced functionality.
- Hire a Professional: If you’re not comfortable with electrical work, consult a licensed electrician for assistance.
Conclusion
Installing a light fixture is a manageable DIY project if you follow safety precautions and the correct installation steps. Whether you’re installing a wall light, pendant light, or ceiling light, having the right tools and knowledge will make the process smooth and efficient. For detailed guides, explore our specific installation articles to ensure a successful lighting upgrade for your home.


Unlock VIP Perks
Join as a priority member to receive gifts and be the first to access exclusive deals, our newest collections, and more...
Read More
How Many Recessed Lights Do I Need? Expert Guide to Perfect Lighting Layout
One of the most common questions homeowners ask when planning lighting is: “How many recessed [...]
Jun
How to Install Recessed Lighting: Everything You Need to Know
How to Install Recessed Lighting is a common question among homeowners looking to upgrade their [...]
Jun
Best Bathroom Pendant Light Ideas to Elevate Your Space
When it comes to bathroom design, lighting plays a crucial role in setting the mood, [...]
Jun
Best Hotel Lighting Ideas That Will Wow Your Guests
Lighting plays a vital role in shaping the guest experience in any hospitality setting. From [...]
Jun
25+ Modern Farmhouse Lighting Ideas Illuminate Your Home
When it comes to home decor, lighting plays a crucial role in setting the mood, [...]
Jun
How to Remove a Light Fixture Safely and Easily?
Whether you’re replacing an outdated ceiling light, troubleshooting electrical issues, or simply giving your room [...]
Jun
25+ Best Bamboo & Rattan Light For Restaurant Coffee Shop
When it comes to designing a welcoming and memorable dining space, lighting plays a vital [...]
Jun
20+ Restaurant Lighting Ideas That Leave a Lasting Impression
Lighting plays a critical role in shaping a restaurant’s ambiance and influencing how customers feel [...]
Jun
Product Collection
Rattan Pendant Light
86 Products
Bamboo Pendant Light
56 Products
Fabric Pendant Light
44 Products
Wood Pendant Light
9 Products
Rope Pendant Light
8 Products
Rattan Table Lamp
6 Products
Wabi Sabi Pendant Light
39 Products
Rattan Wall Sconce
5 Products